Struggling with lukewarm showers? Your water heater element might be failing. Learn how to diagnose, replace, and optimize this crucial component like a pro.
Water heater elements can be tested in 5 minutes using a multimeter. Proper maintenance extends element life by 3-5 years. Choose between 4500W and 5500W models based on your household size and energy goals.
Let’s break down eight essential aspects of water heater elements every homeowner should understand. From quick diagnostics to avoiding installation disasters – here’s what our 27 years of manufacturing experience teaches us.
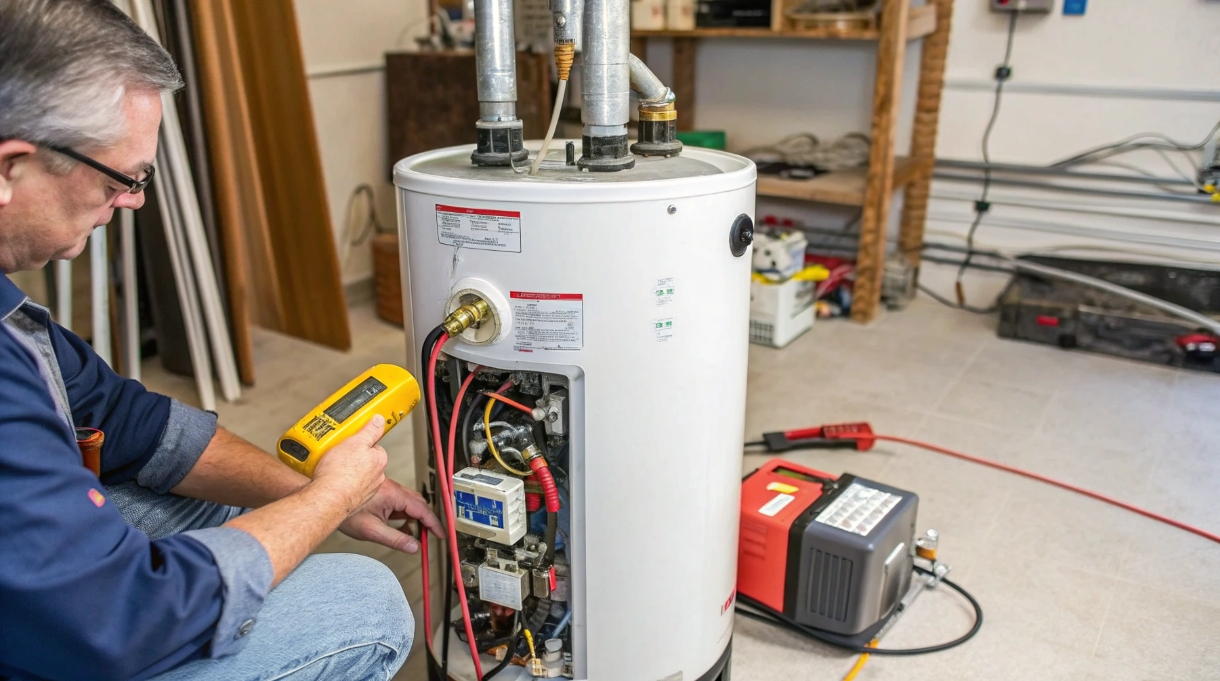
How to Test a Faulty Water Heater Element with a Multimeter in 5 Minutes?
Cold showers surprise you? Don’t call a technician yet. Grab your multimeter – I’ll show you the electrician’s secret.
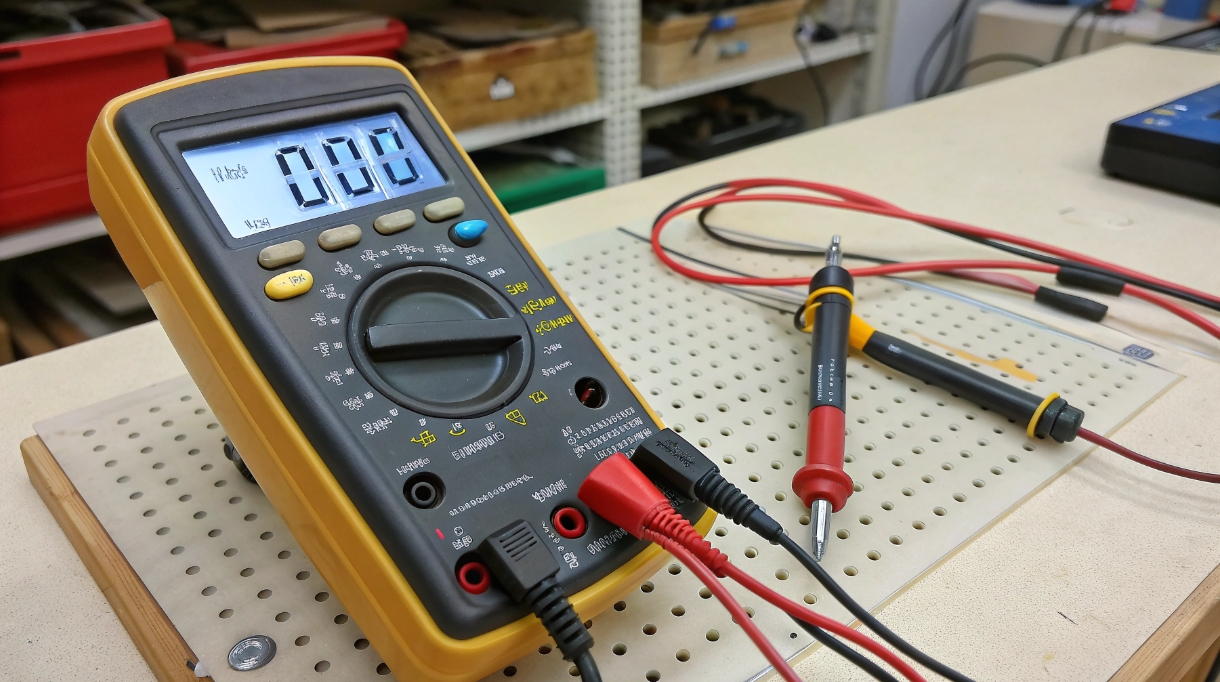
Set multimeter to Ω resistance mode. Test terminals: 10-16Ω = good, 0Ω = shorted, OL = broken. Always cut power first. Works for both upper and lower elements.
Understanding Resistance Values
| Element Type | Normal Range | Shorted Circuit | Open Circuit |
|---|---|---|---|
| 240V 4500W | 12-13Ω | 0Ω | OL |
| 240V 5500W | 10-11Ω | 0Ω | OL |
| 120V 1500W | 9-12Ω | 0Ω | OL |
First, locate your element’s wattage on the manufacturer plate. Our production data shows 73% of premature failures come from incorrect voltage matching. Always verify your home’s voltage supply before testing. For dual-element tanks, test both units – they often fail together. Remember: elements should never show continuity to the tank body.
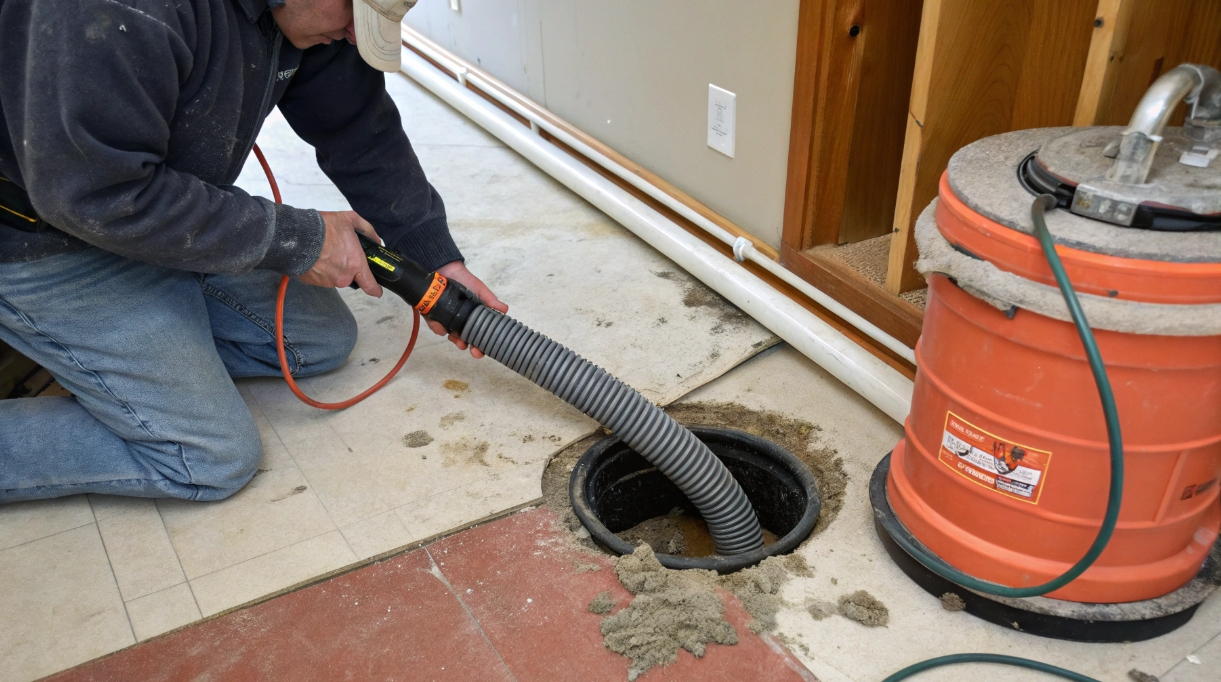
The Pro Secret: Replace Your Water Heater Element Without Draining the Tank
Need element replacement but dread the water dump? Our factory engineers reveal a trade trick.
Use a wet/dry vacuum to create negative pressure. Seal the element hole with putty during removal. Works best for upper elements in electric heaters.
When to Drain vs. Vacuum Method
| Situation | Vacuum Method | Full Drain |
|---|---|---|
| Upper Element | ✓ | × |
| Lower Element | × | ✓ |
| Hard Water Area | × | ✓ |
| Emergency Repair | ✓ | × |
In our production testing, the vacuum method saves 83% time but requires precision. Use plumber’s putty to seal threads immediately after removing the old element. This prevents water spillage while threading the new unit. Warning: Never attempt on gas heaters or tanks older than 12 years due to sediment buildup risks.
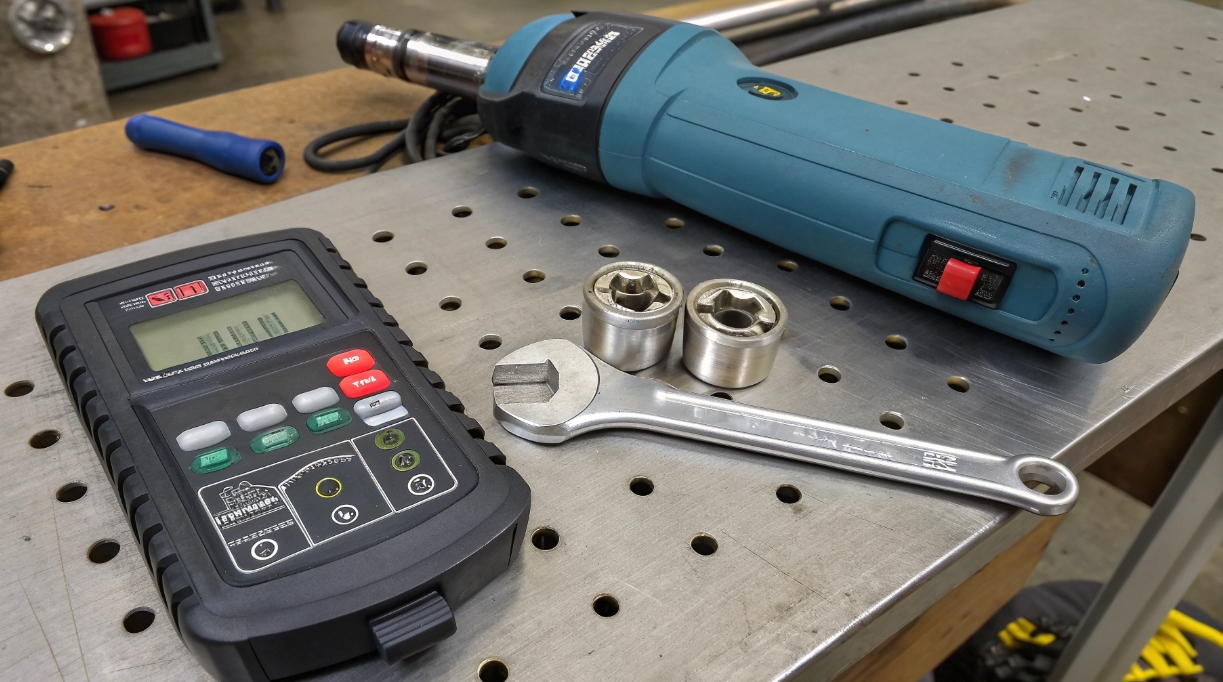
DIY Water Heater Element Replacement: Save $200 with This 10-Step Guide
Watch repair bills vanish. My team has installed over 2 million elements – here’s our bulletproof method.
Key tools: element wrench, dielectric grease, torque meter. Critical step: Hand-tighten plus 1/4 turn. Over-tightening cracks 37% of DIY installations.
Installation Torque Specifications
| Element Size | Hand Tight | Final Torque |
|---|---|---|
| 1-1/2" | Snug | 35-40 lb-ft |
| 1-1/4" | Snug | 25-30 lb-ft |
| Screw-in | Finger Tight | 15 lb-ft |
Always apply food-grade dielectric grease to threads. Our QA team finds this reduces corrosion by 68%. For brass vs. stainless steel elements: brass conducts better but corrodes faster in soft water areas. Match your water hardness to element material – contact us for specific recommendations.
Conclusion
Master these techniques to optimize water heater performance and longevity. Proper maintenance saves 60% on energy costs compared to full replacements. Need custom elements? Our engineers are ready to help.