 Skip to content
By the ELEKHEAT Engineering Team | 27+ Years of Thermal Engineering Expertise
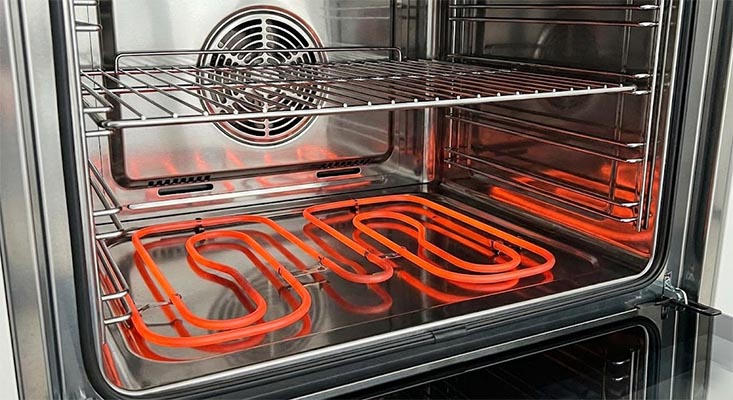
Does your oven take forever to preheat, or have you noticed uneven cooking results? You are not alone. The heating element is a critical component that converts electricity into heat, enabling cooking. When it fails, it impacts both food quality and safety.
While a glowing coil might seem simple, replacing it requires specific knowledge. Whether you are a homeowner attempting a DIY fix or a technician sourcing parts, this guide combines our manufacturing expertise with practical repair steps.
⚠️ Safety First: High Voltage Warning

CRITICAL WARNING: Before removing any screws, you must unplug the oven or cut the power at the circuit breaker.
- Risk: Oven elements operate at high voltages (120V/240V). Electric shock can be fatal.
- Protection: Always wear insulated gloves and avoid touching exposed metal terminals during testing.
Part 1: Diagnosis – Is It Really Broken?
Before ordering a replacement, confirm the failure. Premature failure often signals deeper issues like moisture intrusion, power surges, or grease buildup.
1. Visual Inspection
Look for physical signs of damage. Common indicators include:
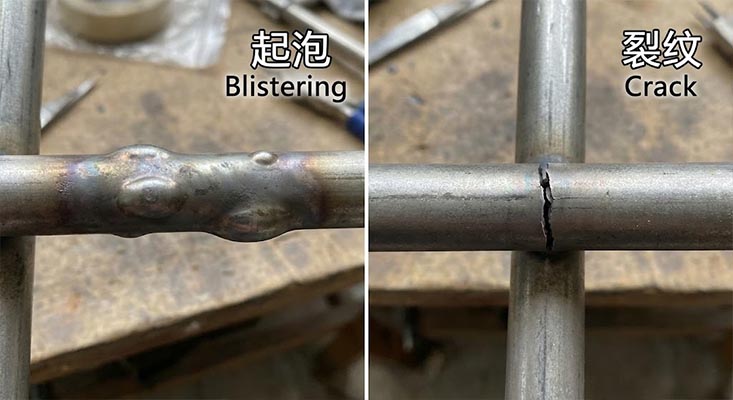
- Visible cracks, blisters, or sagging on the coil.
- "Glowing inconsistencies" (dark spots or uneven brightness) during the heat test.
- Safety Note: If you see cracks larger than 0.5mm, stop using the oven immediately.
2. The Multimeter Test (The Engineer’s Method)
Visual checks aren't enough. Use a multimeter to test resistance.
- Disconnect: Ensure the element wires are disconnected to get an accurate reading.
- Measure: Set your multimeter to the lowest Ohms (Ω) setting.
- Verify: A healthy element typically reads between 20-60 Ω.
- The Formula: You can calculate the exact expected resistance: $$R = frac{V^2}{P}$$ (Voltage squared divided by Wattage).
- Decision: If the reading shows "Open Line" (Infinity) or varies by >20% from the spec, replace it immediately.
Part 2: Repair vs. Replace – The Cost-Benefit Analysis
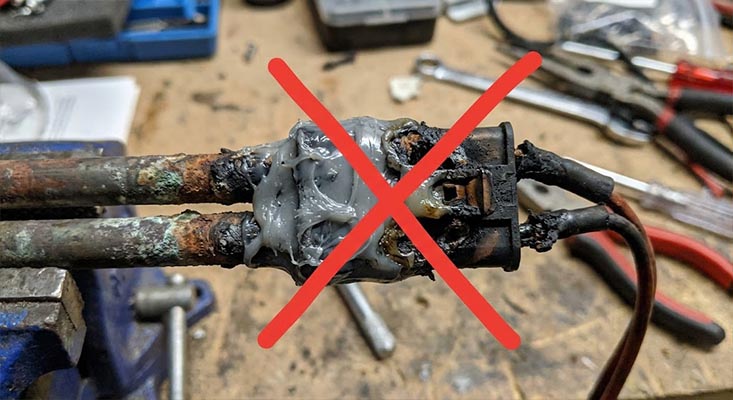
A common question we hear: "Can I just patch the crack?" The answer is NO.
Heat-resistant paste only masks the issue. Micro-cracks create arcing risks (sparks up to 4500°F) and constitute a critical fire hazard. Our engineering team recommends replacement over repair every time.
Comparison Table: Why Replacement Wins
| Scenario | Repair Cost (Risk) | Replacement Cost (Safe) | Recommendation |
|---|---|---|---|
| Crack ≤2mm | $10 (High Risk) | $50 (DIY Part) | Replace |
| Glowing Imbalance | Not Possible | $70 (Branded Part) | Replace |
| Terminal Corrosion | $15 (Cleaner) | $40 (New Element) | Replace |
Note: DIY replacement costs average $40–$125, whereas professional service can cost $150–$300.
Part 3: Step-by-Step Replacement Guide (DIY)
Time Required: Under 30 minutes Tools: Screwdriver, Multimeter, Pliers.
- Power Down: Unplug the unit or cut the circuit breaker power.
- Access: Remove the back or bottom panel (varies by model).
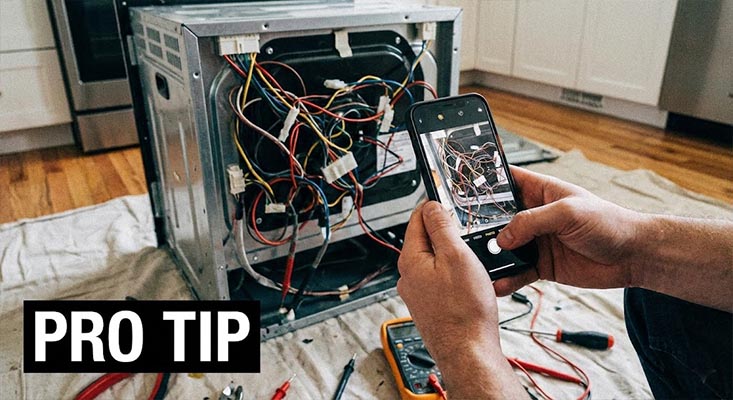
- Disconnect & Document: Before detaching wires, take a photo with your phone to ensure you know which wire goes where.
- Pro Tip: Tape the wires to the oven wall so they don't slip back into the insulation.
- Install: Screw in the new element. Ensure you replace screws in their exact positions to prevent shorts.
- Test: Turn the power back on. A slight smell is normal as the factory coating burns off.
When to Call a Pro? If you have a smart oven with integrated sensors, a gas hybrid, or if the wiring looks complex (hardwired units), call a professional.
Part 4: Sourcing the Best Replacement Elements (B2B & B2C)
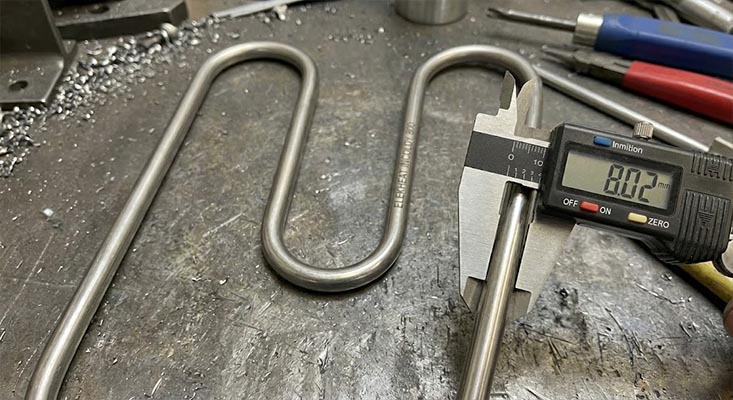
Compatibility is key. Using the wrong element can void warranties or damage control boards. You must match Voltage (120/240V), Shape (Folded/U-shaped), and Terminal Type.
For Homeowners: Brand-Specific Recommendations
- GE: Look for "Folded back" shapes with integrated clips. ($48–$65)
- Whirlpool: Typically uses a "Flat U-bend" with high-temp gaskets. ($52–$75)
- Samsung: Often requires "Spiral coils" compatible with auto-shutoff sensors. ($67–$85)
- Frigidaire: Look for a tube with flange and ceramic insulator. ($40–$58)
For Repair Shops & Manufacturers (B2B)
Need high-durability components? ELEKHEAT’s manufacturing facility produces OEM-compatible elements that last longer than standard parts.
- Material: We use Incoloy or 304 Stainless Steel, which resists cracking up to 1,200°C (2,192°F).
- Lifespan: While standard elements last 3-5 years, our commercial-grade Incoloy elements last 8+ years.
- Warranty: We offer 18-month warranties and bulk pricing for appliance manufacturers.
[Contact Us for Bulk Pricing] | [Find Your Model]
Part 5: Maintenance – Make It Last
Prevent future failures with this simple schedule:
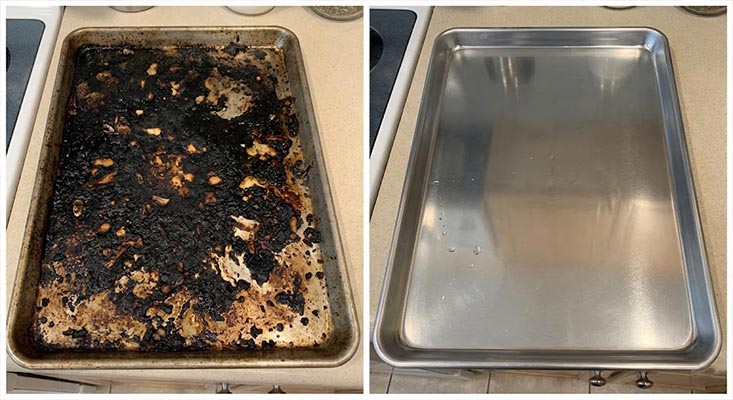
- Weekly: Clean drip pans to prevent grease buildup (which creates hot spots).
- Quarterly: Check terminal tightness to improve efficiency by 15%.
- Daily: Avoid slamming oven doors! Sudden impacts can crack the ceramic insulators.
Conclusion
Quality heating elements ensure baking perfection and kitchen safety. Don't wait for a complete breakdown—test your elements regularly. For oven longevity, trust ELEKHEAT’s 27+ years of thermal engineering expertise.